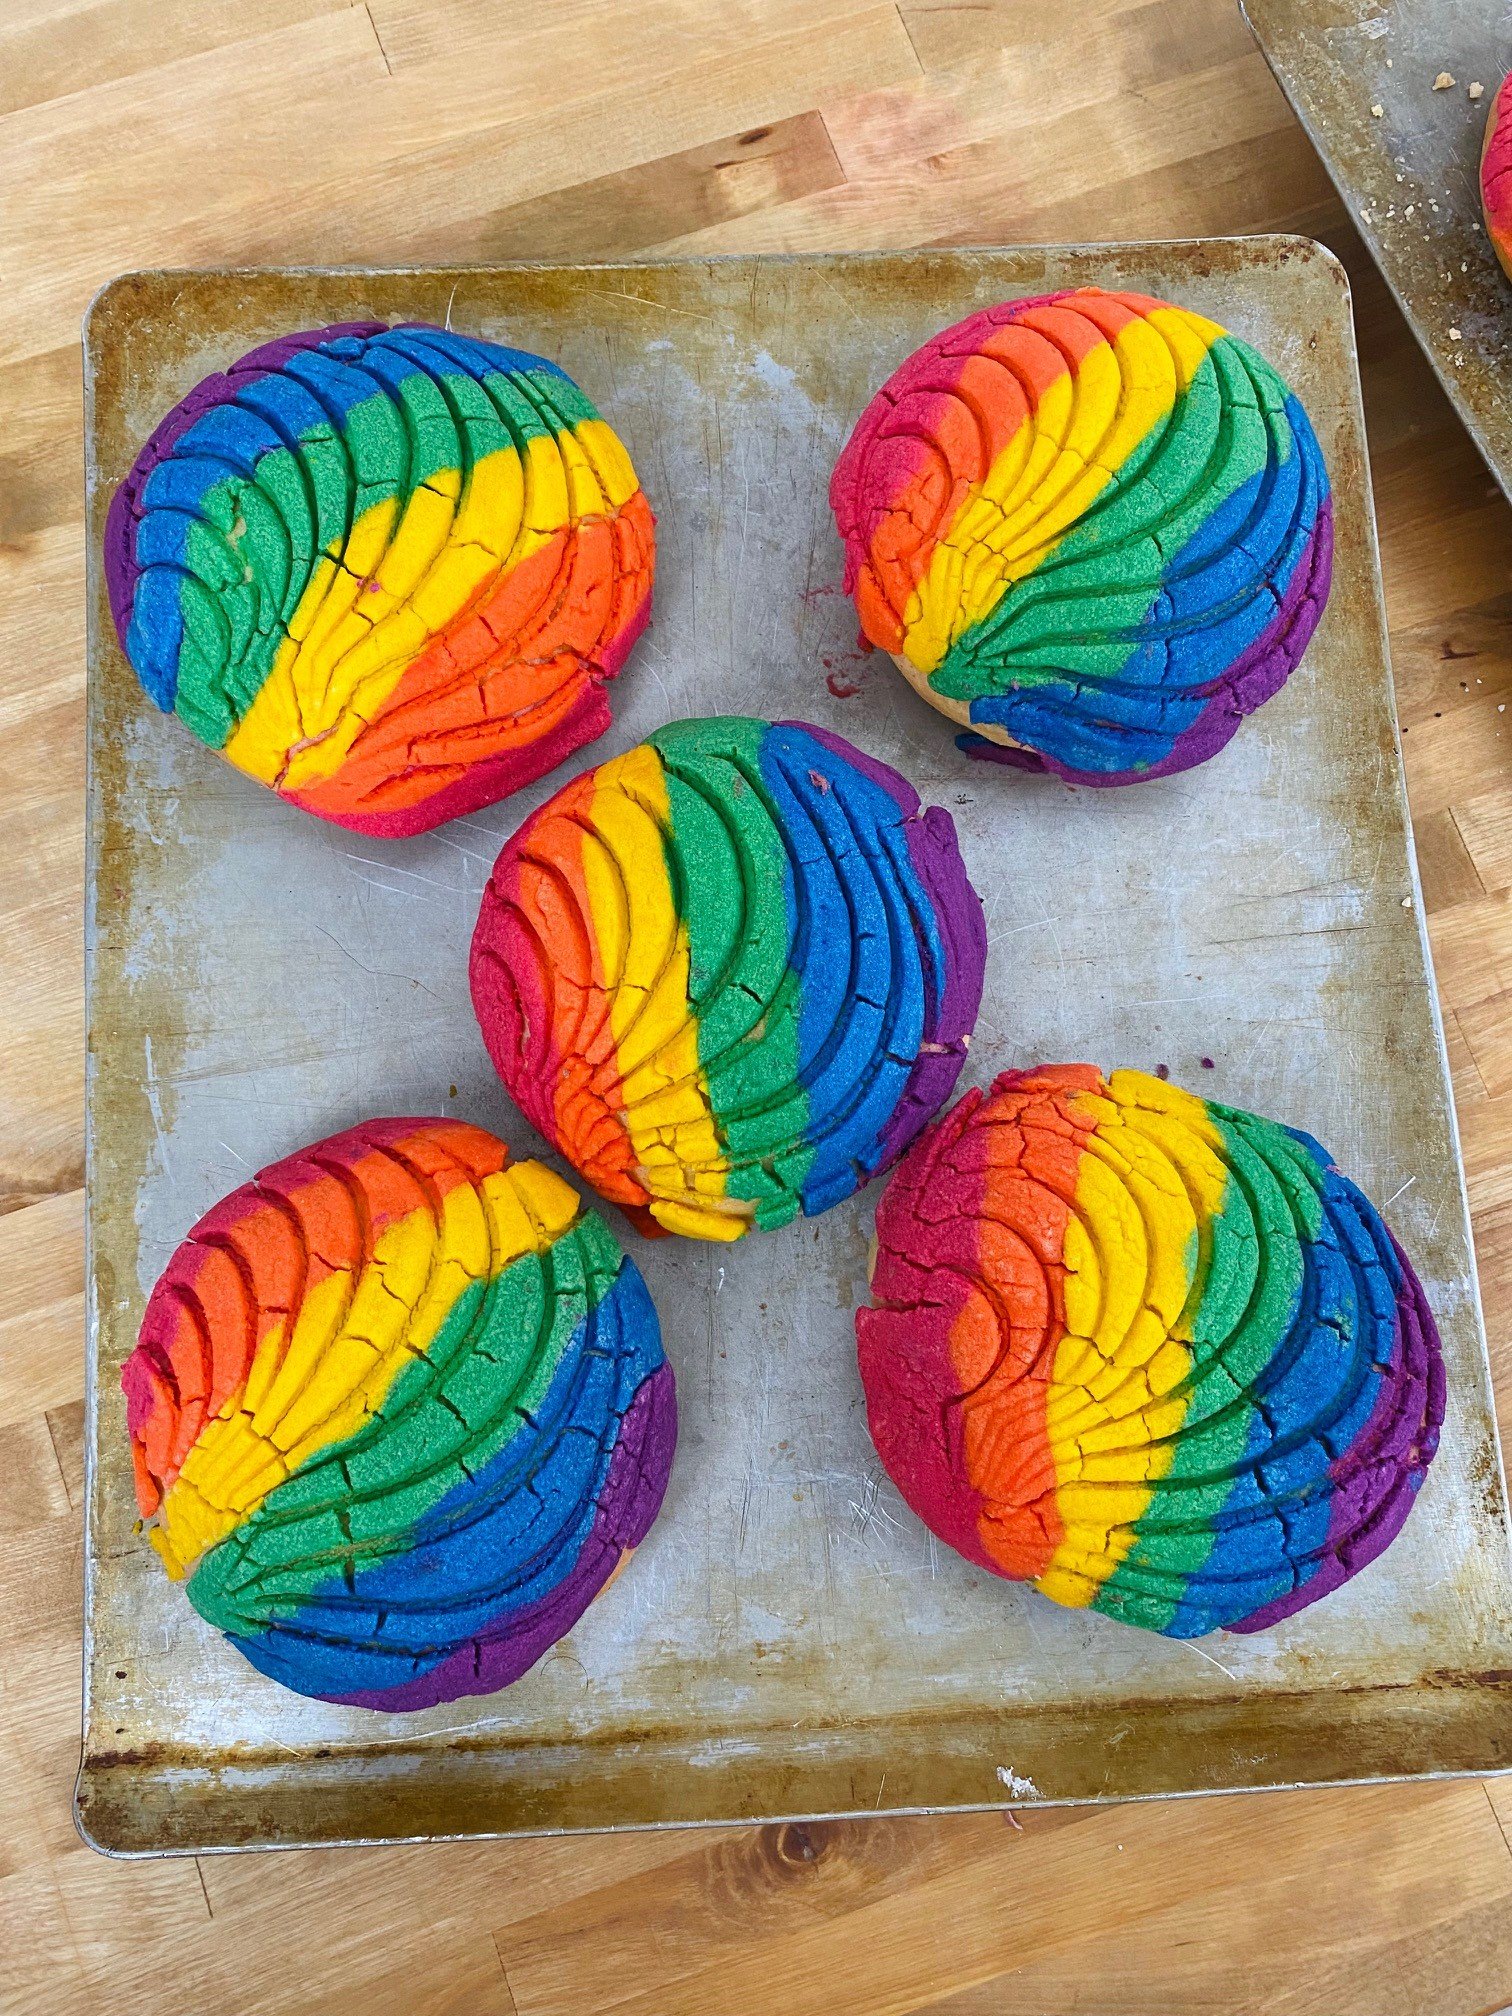
Conchas Arcoiris

Conchas Arcoiris
Fermented Dough
Demo and Recipe Below!
I probably don’t have to tell you that these are perfect for Pride celebrations. This will make the topping for 8 to 10 striped cookies, with the remainder in a marble pattern that is equally cool in its own way. If you want all of them to be striped, double the topping and accept that you will have leftover topping. For the brightest, most vibrant colors for your rainbow conchas, use “electric” or “neon” food coloring gel instead of the standard variety.
Makes 16 large conchas
Ingredients
Metric
Bizcocho Dough (click here for recipe)
12g Shortening, melted and cooled, for coating and more for the pans (optional)
Sugar Topping
190g Vegetable shortening
180g Sugar
300g Unbleached all-purpose flour
1/2 tsp Vanilla extract
Pinch Fine salt
Neon (electric) food coloring gel in red, orange, yellow, green, blue, and purple.
US
Bizcocho Dough (click here for recipe)
2 Tbsp Shortening, melted and cooled, for coating and more for the pans (optional)
Sugar Topping
1 cup Vegetable shortening
7/8 cup Sugar
2 cups + 2 Tbsp Unbleached all-purpose flour
1/2 tsp Vanilla extract
Pinch Fine salt
Neon (electric) food coloring gel in red, orange, yellow, green, blue, and purple.
Special equipment: Bench knife, 3½ in/9 cm round cookie cutter, small offset metal spatula, concha stamp
Instructions
1.MAKE THE BIZCOCHO DOUGH: Make the dough and let it bulk ferment.
2. SHAPE Line three half-sheet pans with parchment paper or grease with shortening. (I’m old-fashioned and prefer greasing. The bottom of the conchas seem softer from contact of the dough with the shortening,) Turn out the dough onto an unfloored work surface. Working around the perimeter of the dough, starting at the 12 o’ clock position, pull and stretch the dough without breaking about 4 in/10 cm away from the mass and press it into the center. Repeat at the 3, 6, and 9 o’ clock positions. Repeat the stretching a second time and gluten will develop and firm the dough. Flip the dough over smooths side up. Using a bench scraper or large knife, divide the dough into 16 equal portions (about 65 g), preferably using a scale
3. REST Melt the shortening in a small saucepan over low heat. Cool until tepid but still liquid. Meanwhile, shape the dough into taut balls. Place the balls on the prepared pans, spacing them well apart, 5 or 6 per pan. Brush the balls with the shortening. Don’t miss any spots as it acts as an adhesive for the sugar tops, but don’t let the shortening drip and pool on the pans. Let stand, uncovered, in an ambient temperature about 70ºF/ºC) to rest the dough, for 30 to 45 minutes. The mounds should not rise much.
4. MAKE THE TOPPING To make the topping: In the bowl of a standing heavy-duty mixer fitted with the paddle attachment, mix the shortening and sugar on medium speed until creamy, about 1 minute. Reduce the speed to low. Add the flour, vanilla, and salt, increase the speed to medium, and beat until the topping clumps together, about 2 minutes. The topping dough should be soft, malleable, and moist. Adjust the consistency by mixing in water a teaspoon at a time.
5. COLOR THE TOPPING Divide the topping into six equal portions (about 115 g each). Separately color each portion, in this order: Red, orange, yellow, green, blue, and purple with gel, wiping the bowl and beater clean between each batch with a moist paper towel. The topping dough should be soft, malleable, and moist. Adjust the consistency of each color by mixing in water a teaspoon at a time. Keep the colors separate. Divide each color in half—you have twelve portions of dough.
6. SHAPE THE TOPPING Place a 17-by-13-in/33-by-23-cm piece of parchment paper on the work surface, long side facing you. Place one portion of the red topping in front of you. Work it with your hands to make it more malleable, and squeeze into a rough log. Roll the log under your hands to make a rope about 11 in/27.5 cm long and ½ inch/12 mm wide. Move to the top of the parchment. Using a single portion for each, repeat shaping, in this order, the orange, yellow, green, blue, and purple. Roll each rope to touch the preceding color at the top of the parchment and press them to adhere. When you are done, you will have a strip about 2½ in/6 cm wide. Flip the strip over on the parchment to move it to the center of the paper. Fold the parchment over the paper. Using light pressure, roll out the strip so it is 17 in/33 cm long and peeking out of the ends of the parchment. Repeat with remaining portions to make two strips. Slide the two strips onto a half-sheet pan and refrigerate for about 10 minutes to slightly firm the dough.
5. ADD THE TOPPING One at a time, transfer a strip of topping to the work surface and uncover so the topping is exposed but still on the parchment. Using a 3½ in/9 cm round cookie cutter, cut out a round of topping. (It will be a little thicker than hand-patted concha topping.) Using a small offset metal spatula, lift the round, place over a dough mound and pat to adhere. Repeat with the remaining topping. When all of the rounds have been cut, gather up the scraps and press the together to get a marbleized effect. Cut this topping into the number of pieces to match the uncovered rounds. Using floured hands, pat them into thin rounds about 3½ in/9 cm wide, and place and pat over the remaining mounds. Dust the tops of the conchas with flour. Using a concha stamp, using a decisive, quick motion, punch the design into the toppings, being sure not to cut into the dough. Or make the shell design with a small knife or the curved side of a fork.
6. PROOF Let stand, uncovered, in a warm place (about 75ºF/24ºC) until the pastries look puffed if not doubled in size, about 1 hour (or 1 ½ hours for chilled dough). The topping will begin to separate between the cuts. This separation is a sign that the conchas are ready to bake.
7. BAKE Position racks in the top third and center of the oven and preheat to 350ºF/180ºC. If you have a convection feature, use it—no need to adjust the temperature. Bake two of the pans, switching the position of the pans from top to bottom and front to back halfway through baking, until the conchas are golden brown around the edges with crackled toppings, 20 to 25 minutes. Reserve the third pan in a cooler part of the house while baking the first batch.
8. COOL Let cool completely on the pans. (The sugar topping is very hot and fragile out of the oven.). To store, transfer the cooled conchas to an airtight container and store at room temperature for up to 1 day or freeze for up to 3 months. Day-old conchas are excellent when halved, toasted, face-up in a toaster oven and spread with butter (which is how my grandmother would serve them to my brothers and me).
More posts and recipes!
Alex Peña
“Baking is the most rewarding part of my culinary experiences.”
Subscribe
Get baking updates!